

Every laptop that goes back into service saves the energy and materials needed to build a new one. Yet secure data erasure before computer reuse decides whether that second life is safe. Many reuse schemes still treat it as an afterthought.
The risk sits on the drive itself. A deleted folder or a standard reset leaves files that free recovery tools can rebuild. That means a donated machine can pass payroll records or patient details to its next owner.
This guide covers the five stages of a secure wipe, the right method for each drive type, and erasure in business asset disposal. Read on to see where wiping stops and shredding starts.
Reuse Beats Recycling for the Planet, but Only if the Data Is Gone
Recycling recovers a computer’s metals and plastics, but it can’t recover the energy used to make its chips and screen. Reuse keeps that whole investment working. That’s why a refurbished laptop usually does more for the planet than a shredded one.
That gain depends on owners letting go of their old kit. The ICO poll on unwiped old devices, published in 2024, found that “the average Brit has three unused devices sitting at home.” If you’ve ever found an old phone in a kitchen drawer and wondered what’s still on it, you’ve met the problem firsthand.
Businesses hesitate for the same reason, only with whole fleets. An IT team that can’t prove a drive is clean often locks retired equipment in a storeroom, where its resale value keeps falling.
A single laptop or an entire fleet, certain data must be permanently erased before any device leaves your hands. The most urgent are saved passwords and browser sessions that log straight into email and banking. Business files carry a similar risk. Customer records, invoices, and payroll files often sit in local folders on the drive. Cached copies of cloud documents from OneDrive or Google Drive stay there too.
Network access is just as important, because Wi-Fi keys and VPN settings open your office network to whoever holds the machine. Old backups and recovery partitions then add a final layer, since they hold copies of everything else.
Checking for each of these on one sample machine shows you whether a simple reset will ever be enough. If any of them survive the reset, plan a full wipe for the whole batch.

Data Wiping Before Donation: What Secure Erasure Involves
Secure erasure overwrites or scrambles every storage area on a drive, then checks the result so recovery tools find nothing. Donating a wiped laptop to a school or charity only stays safe when each stage leaves a record you can show later.
Here’s how the five-stage process works. It starts with a clear inventory and finishes with proof that every donated laptop is clean.
Logging Every Device and Drive Before Anything Is Touched
Start by recording each machine’s serial number, asset tag, and drive serial in one spreadsheet. That list proves nothing went missing between collection and donation.
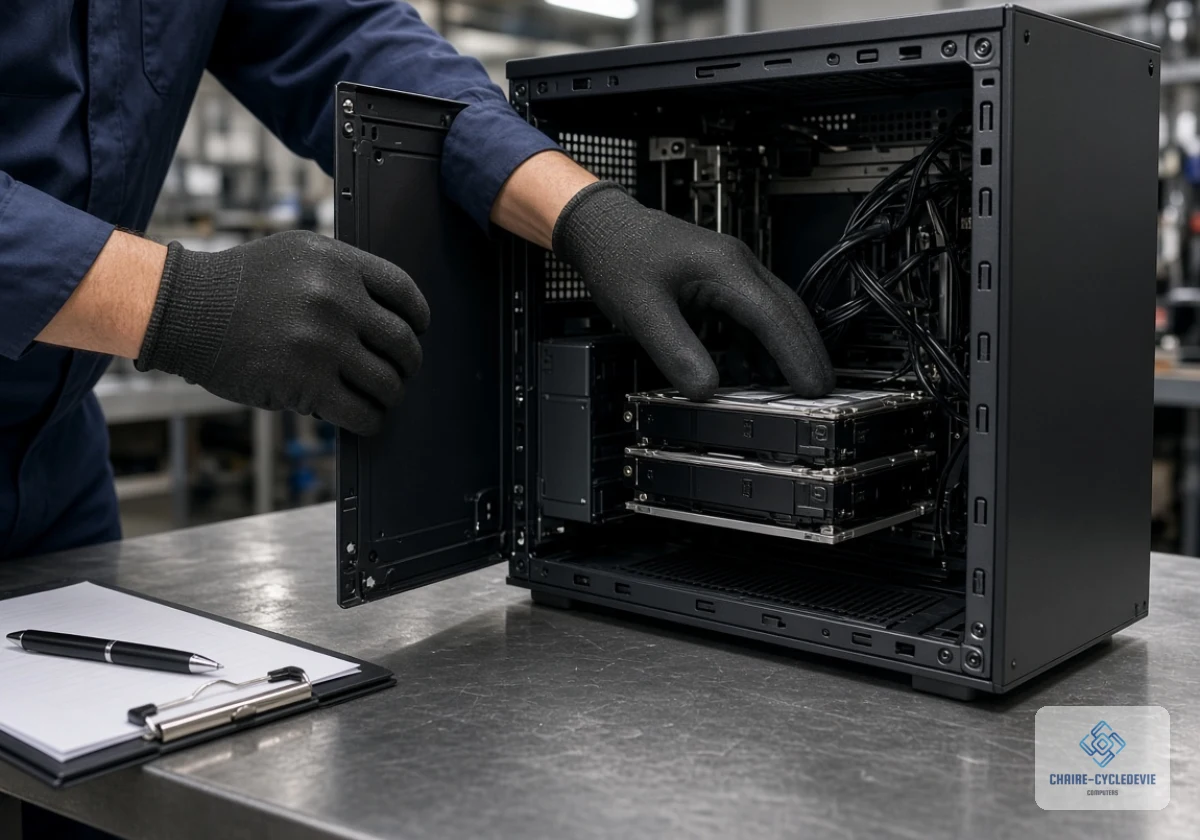
Desktops need extra care, because a second hard drive often sits behind the side panel. A label check on the outside won’t reveal it.
Open every tower case before you log it, then. In office refresh work, spare drives tend to turn up in older towers (often tucked into the lower bay behind the cables).
Matching the Wipe Method to the Drive Type
Spinning hard drives store data on magnetic platters, so overwriting each sector clears them reliably. Solid-state drives (SSDs) work differently. Their controller spreads writes across hidden spare cells.
That’s why an overwrite tool can miss data on an SSD. Use the drive’s built-in secure erase or cryptographic erase command instead.
Experienced erasure technicians check the drive model before starting the data erasure process. Guessing wrong wastes a whole wipe cycle and leaves you starting again.
Running a Verified Wipe with Certified Software
Certified tools such as Blancco run the chosen method across the whole drive, including hidden areas. They then read sectors back to confirm nothing survived.
Free utilities can overwrite a drive too. The difference lies in the report, because certified data erasure software produces a signed log tied to the drive serial.
Save each log against the asset list you built at the start. If you’ve ever sat through an audit, you’ll know paperwork settles arguments that memory can’t.
Destroying Any Drive That Fails Verification
Some drives fail mid-wipe because of bad sectors or a faulty controller. Those failed sectors can still hold sensitive information that a recovery tool could read.
Pull the drive and send it for secure destruction, such as shredding into small particles. The rest of the laptop can still go for reuse with a new drive fitted.
Keep failed drives in a locked box until the drive shredding service collects them (label the box clearly so staff never mix them up). That way, a faulty drive never slips back into the donation pile.
Keeping the Certificate of Data Destruction and Chain of Custody
A certificate of data destruction lists every drive serial, the method used, and the date. Pair it with a chain of custody record showing who held each device at every handover.
Together, those two documents answer the question a regulator asks after a breach: can you prove this drive was clean? Under UK GDPR, your organisation stays responsible for personal data on that drive until it’s erased or destroyed.
Store both records for as long as your retention policy covers the original data. Ask any recycling partner for sample certificates before you sign a contract.
Which Laptop Data Sanitisation Method Fits Which Drive?
The right laptop data sanitisation method depends on how the drive stores data and whether it’ll be reused. The NIST SP 800-88 media sanitisation guidelines were revised in 2025. They describe sanitisation as a process that “renders access to target data on the media infeasible for a given level of effort.”
The table below matches each common drive type to a method and a next step.
| Drive type | Method | Reusable afterwards? | What to do next |
|---|---|---|---|
| Spinning hard drive (HDD) | Overwrite every sector (Clear) | Yes | Verify with a read-back, then refurbish |
| SATA or NVMe SSD | Firmware secure erase or cryptographic erase (Purge) | Yes | Confirm the command completed in the erasure log |
| Self-encrypting drive | Destroy the encryption key | Yes | Record the key destruction in the report |
| eMMC storage in budget laptops and tablets | Manufacturer reset plus verification | Sometimes | Test one sample before committing a whole batch |
| Failed or damaged drive | Shredding or disintegration (Destroy) | No | Fit a new drive before donation |
For most office fleets, the SSD row deserves the closest attention, since recent business laptops usually ship with one. Choose software that supports firmware commands on NVMe drives, or you’ll end up destroying drives you could have reused.
Building Data Erasure into Business Asset Disposal, from Collection to Certificate
A correct method for each drive only protects you if every business asset disposal follows it. One-off wipes by a helpful colleague leave gaps that a written secure IT disposal process closes.
To build erasure into each disposal, plan around these four stages:
- Secure Collection: Locked cages or sealed bags keep devices out of reach between your office and the erasure site. Transit carries real risk, because a loose laptop can go missing before anyone logs its arrival. Ask your provider whether its vans are tracked, and refuse any collection where nobody signs for the handover.
- Erasure On Site or Off: For highly sensitive data, on-site data destruction keeps drives inside your building throughout. Off-site work usually costs less for large batches, though devices then leave your direct control for a while. Match the choice to the risk rating of each asset type, so finance laptops stay on site while reception PCs travel.
- Reporting Per Device: Every laptop needs its own line in the final report, linked to its erasure log. Batch totals can hide a missing machine, since a matching count says nothing about which serials actually went through. Check the report against your original asset list before you close the job.
- Reuse or Recycling Decision: Grade machines by condition. Clean ones can go to schools and charities, such as a primary school in Leeds or a community group in Cardiff. Broken or unrepairable units go to WEEE-compliant electronics recycling instead. Set grading rules in advance so staff don’t send reusable laptops to the shredder for convenience.
Including these steps in your IT asset policy makes sustainable IT data security a routine that continues despite staff changes. To make that routine stick, name one person to own it, so new starters learn the same steps instead of inventing shortcuts.
That owner should keep the procedure short and review it every year against your erasure logs. This keeps each disposal consistent through every stage.

Give Every Retired Computer a Second Life, Safely
Computer reuse saves resources that recycling can’t, but it only stays sustainable when secure data erasure comes first. A verified wipe backed by a certificate makes a donated laptop safe for its next owner.
Start with the devices already sitting in your storeroom. Log them, check their drive types, and book erasure before their value drops further.
Chaire-Cycledevie shares life cycle thinking for organisations weighing reuse against recycling. Contact our team to see how that thinking applies to your retired equipment. Together, you can plan a reuse route that’s secure and sustainable.